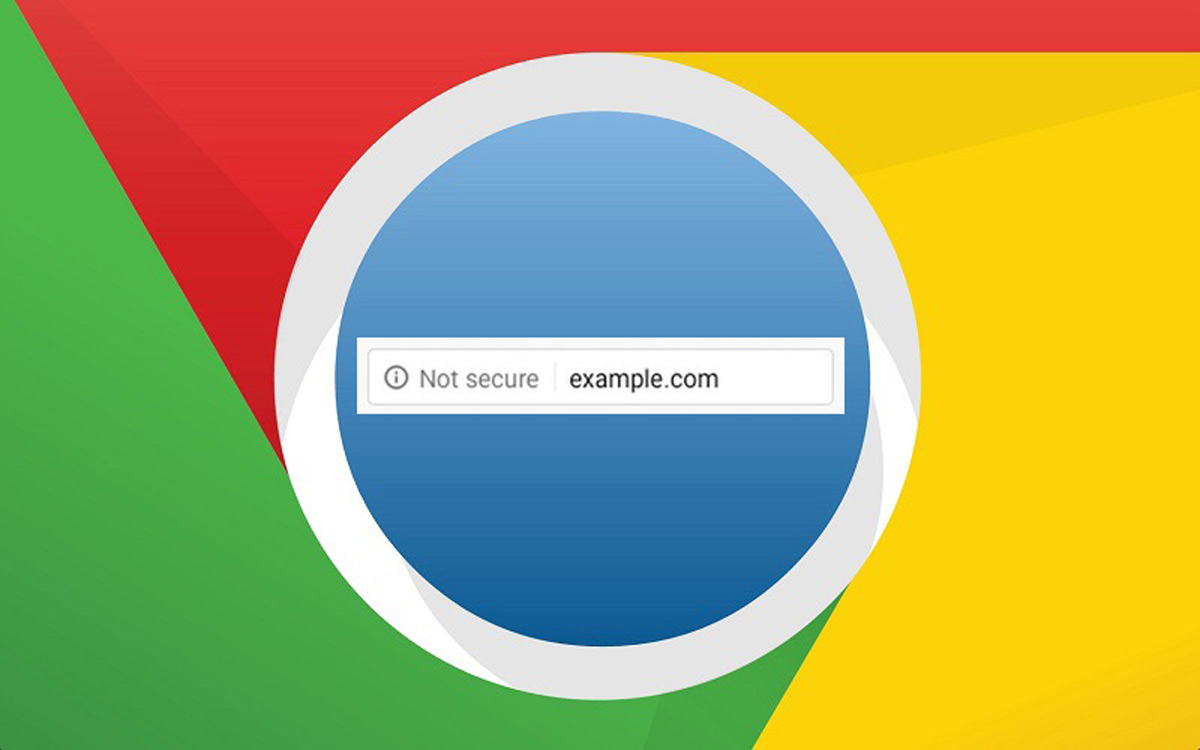
WordPress Not Secure? You might have noticed, in recent months, that in many web browsers especially in Chrome, your website might have a “Not secure” warning in the URL bar on top. That’s because since Google released the Chrome update of July 2018, Chrome started flagging HTTP sites as “Not secure” in order to discourage visitors from sharing information on HTTP sites that are not encrypted and encouraging site owners to switch to HTTPS, which is a more secure protocol. Now, if you are unfamiliar with the difference between HTTP and HTTPS, every website uses HyperText Transfer Protocol (HTTP) to exchange and share information across the network/internet, HTTP does not encrypt information so it is easily readable and vulnerable to interception or hacking, which obviously isn’t great when it comes to personal information (passwords, credit card numbers, etc.) That’s why HyperText Transfer Protocol Secure (HTTPS) was developed to use “code” (SSL) to encrypt and protect that information, and make the connection between the website and the user secure.
So how to get rid of that WordPress Not Secure warning from your site?
For Chrome to flag your site as secure you will need to serve your pages and content through HTTPS and for that you will need to obtain an SSL certificate for your site. There are several ways you can go about doing this and all of these options will remove the WordPress Not Secure warning from your browser if setup correctly:
1. Hosting providers that offer Free SSL certificates
Currently, there are many hosting providers that offer free SSL certificates with their hosting service in collaboration with Let’s Encrypt (Let’s Encrypt is a project with a goal to make internet more secure and provide free SSL certificates, this project has been backed by some of the biggest companies like Google, Facebook, Mozilla etc.)
You can call your hosting provider and ask if they provide a free SSL and if they do they can help you easily implement it on your site, if not we might suggest switching to a hosting provider that does.
2. Manual installation of Free Let’s Encrypt SSL certificate
You can still add a Let’s Encrypt certificate even if your hosting provider does not supply it but it will have to be done manually and for that you will need help from a developer and Shell access on your hosting account.
3. Cloudflare’s Free Shared SSL certificate
Cloud flare is a CDN (Content Delivery Network) service for serving your content through their servers and speeding up load times of your site, they also offer a Free shared SSL certificate even with their Free plan.
If you are already using Cloudflare, you can turn on Full SSL protection through the options on your dashboard and Cloudflare will start the process of supplying you with the certificate which may take up to 24h, but in many cases much quicker than that.
4. You can use paid SSL certificates
There are also paid SSL certificates available. A paid SSL certificate will typically provide additional guarantees, warranties and security seals etc. Those additional features are not necessary in the vast majority of cases, so it ultimately comes down to personal preference, your budget and the risk profile of your business.
If however you decide to go with the paid option there are several providers you can chose from like Comodo, Rapid SSL, Symantec, Certum, Geo Trust etc.
What next?
Now that you have SSL certificate added to your site there are a few small steps left to complete the transition to HTTPS and removing the WordPress Not Secure warning.
Firstly, you need to change the WordPress and Site url of your WordPress site, which you can easily do by going to Settings > General and replacing the http URLs with https ones (ie. change http://example.com to https://example.com) in those fields.

Secondly, you will need to serve all the files and images through https so their URLs need to be changed also. To help you with that, there is a really nice plugin that we like and that’s Really Simple SSL. You can install and activate that plugin and it will take care of switching files and content from http to https. Sometimes a few links or images are hard coded and need to be reuploaded or their URL changed manually. If you are not comfortable with doing that you might need the assistance of a developer.
After the above is complete your WordPress site should be fully switched from HTTP to HTTPS and the warning should be gone. A lock icon should be present next to your sites URL indicating that your site is now secure.
CircleBC have helped businesses throughout Australia, including Sydney, Brisbane, Melbourne, Adelaide, Perth, Canberra, Hobart with WordPress Website Support, Security and Maintenance, so give us a call on 1300 978 073 for more information.

